The ultimate Hazelnut Cake! All-natural hazelnut flavor in the cake layers and frosting. A simple and delicious combination.
I bought WAY too many hazelnuts. Like, so many.
In hindsight, I don’t know what I was thinking. Especially since I already had not one, but TWO bags of hazelnut flour because I forgot I already had one and bought another.
I had tossed around a couple of ideas of how I might decorate this Hazelnut Cake, but I’m pretty sure none would have required a 2+lb bag of $30 hazelnuts.
I don’t even like hazelnuts!
True story. But I do love nut-based cakes like my Almond Amaretto Cake and my Baklava Cake that uses walnuts in the cake layers. The nuts add delicious flavor and texture to cakes so making a Hazelnut Cake was a no-brainer.
How to Make this Hazelnut Cake
I used store-bought hazelnut flour for the cake layers. It’s like almond flour, but hazelnut. It’s not super cost-effective, I’m not going to lie.
You can easily make your own hazelnut flour by pulverizing some toasted, skinned hazelnuts in a food processor until you get a fine powder. You can sift out any larger chunks then measure the amount you need. I am lazy though so I just bought the flour!
Be sure not to over-process them as it will eventually turn into hazelnut butter (like peanut butter).
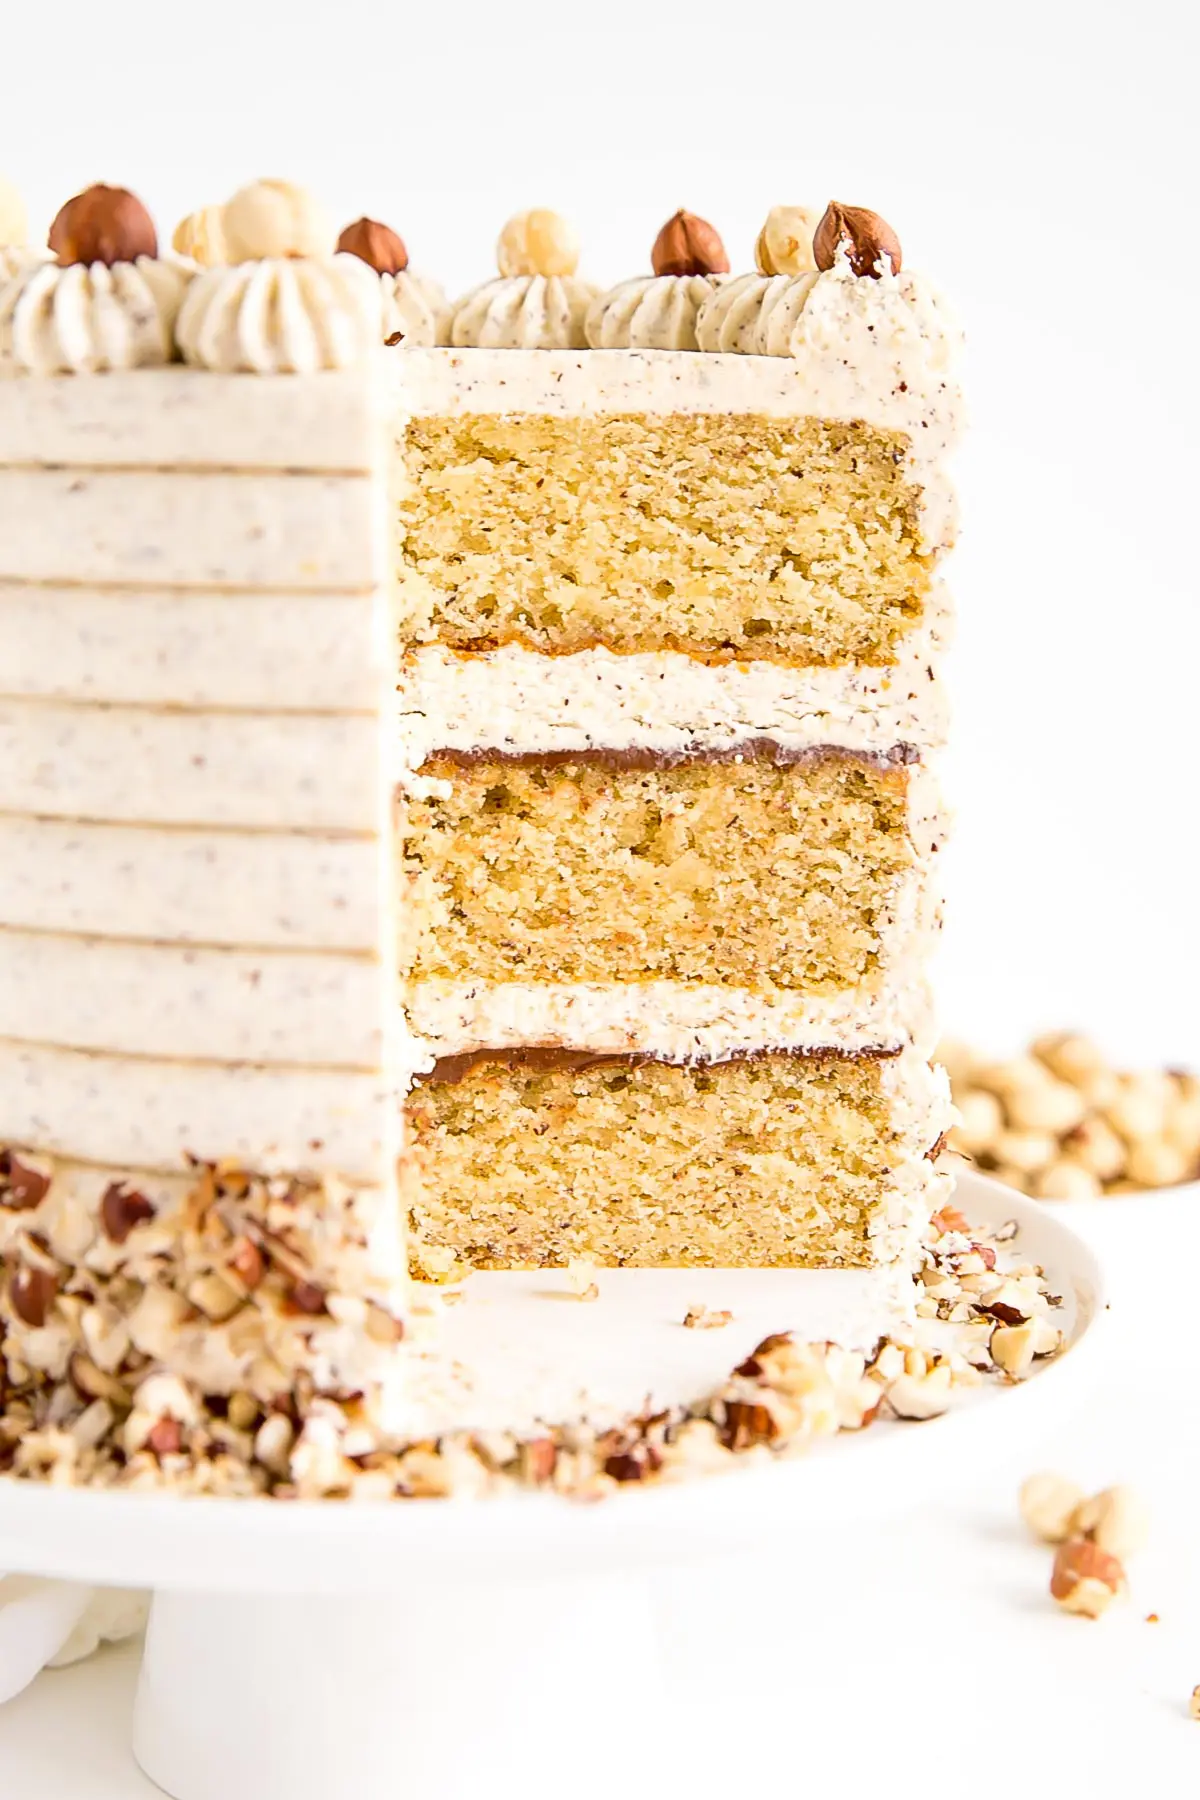
To make this cake I simply replaced some of the regular all-purpose flour in my standard Vanilla Cake recipe with hazelnut flour.
The cakes smelled heavenly!
Hazelnut German Buttercream
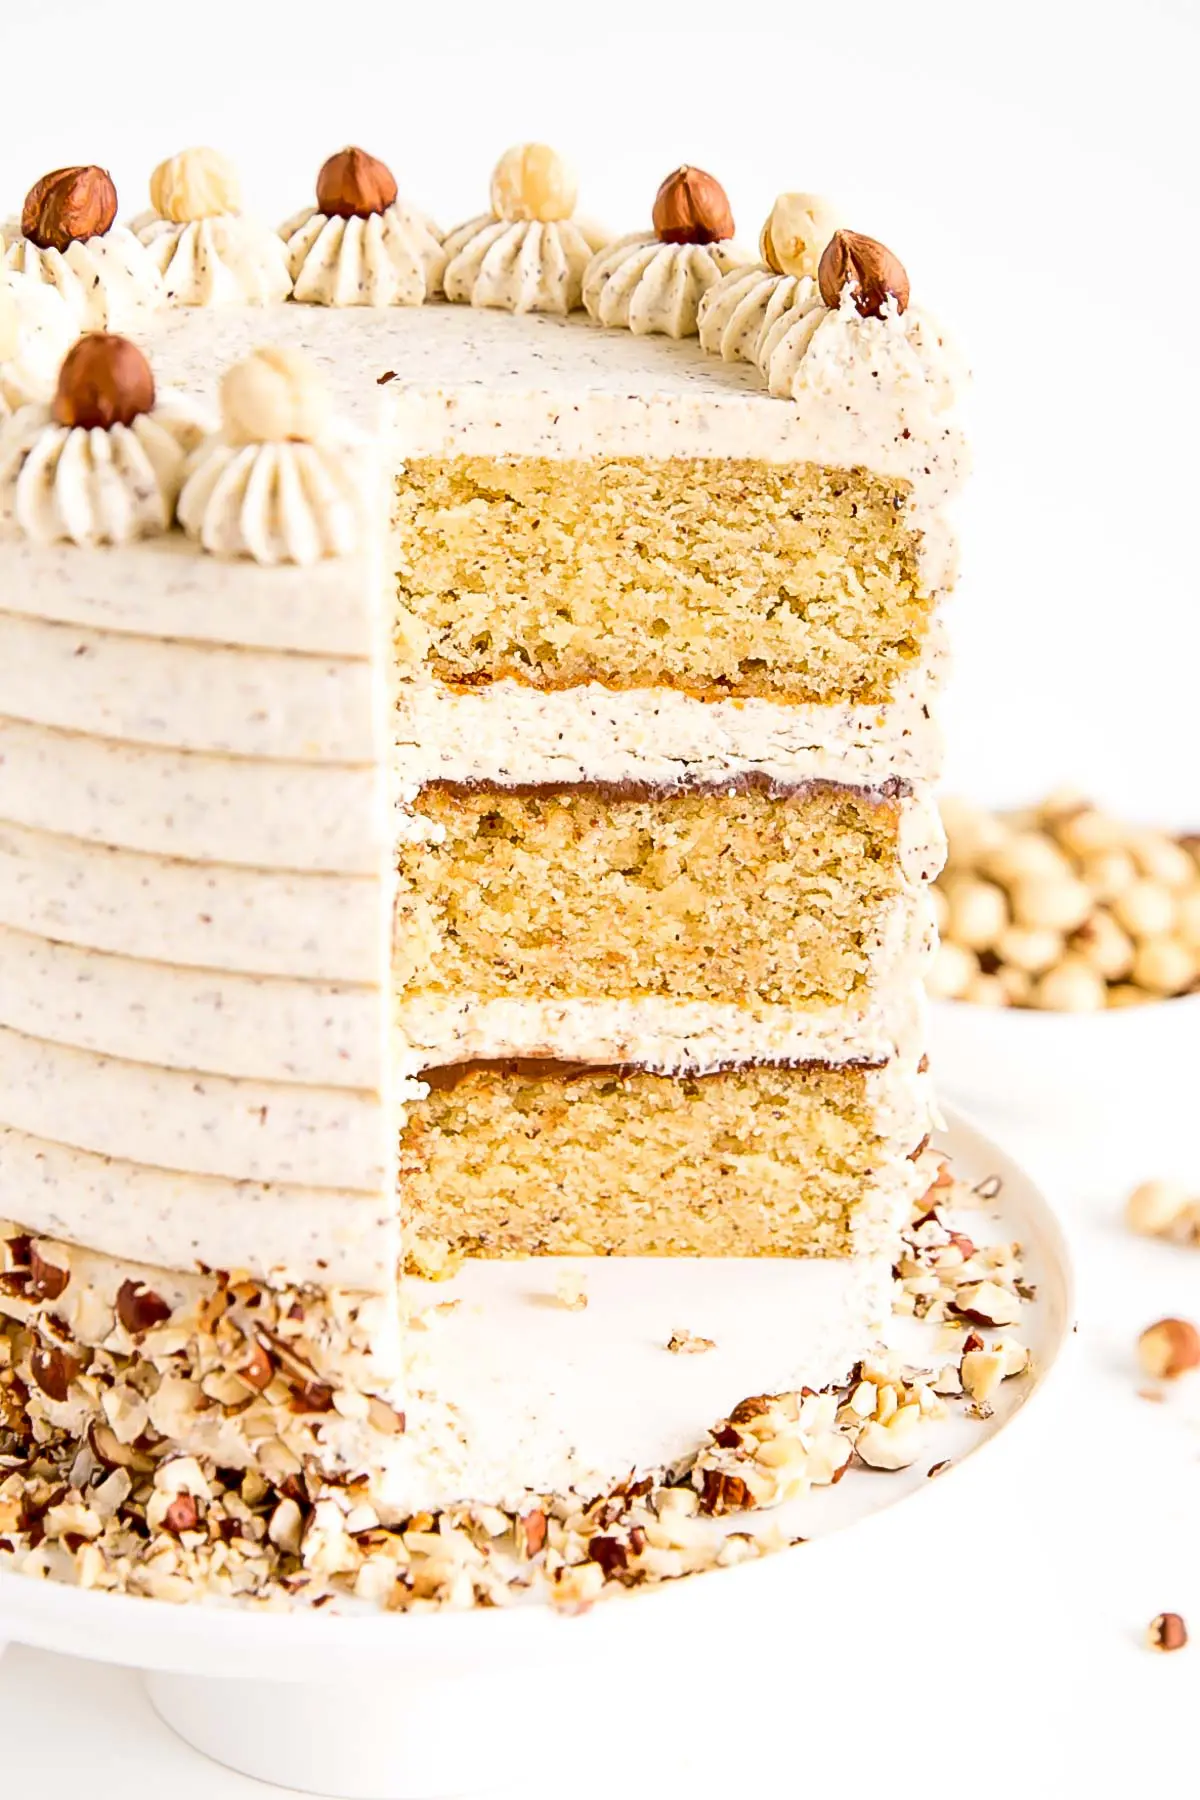
I used my German Buttercream as a frosting for this cake, but you could use any buttercream you like and just add hazelnut flour to it.
To me, the German buttercream seemed like a perfect fit. It’s light, fluffy, not too sweet, and just delicious. I have a detailed tutorial on How to Make German Buttercream, so be sure to check that out if you try it. It’s not difficult at all, just a bit time intensive.
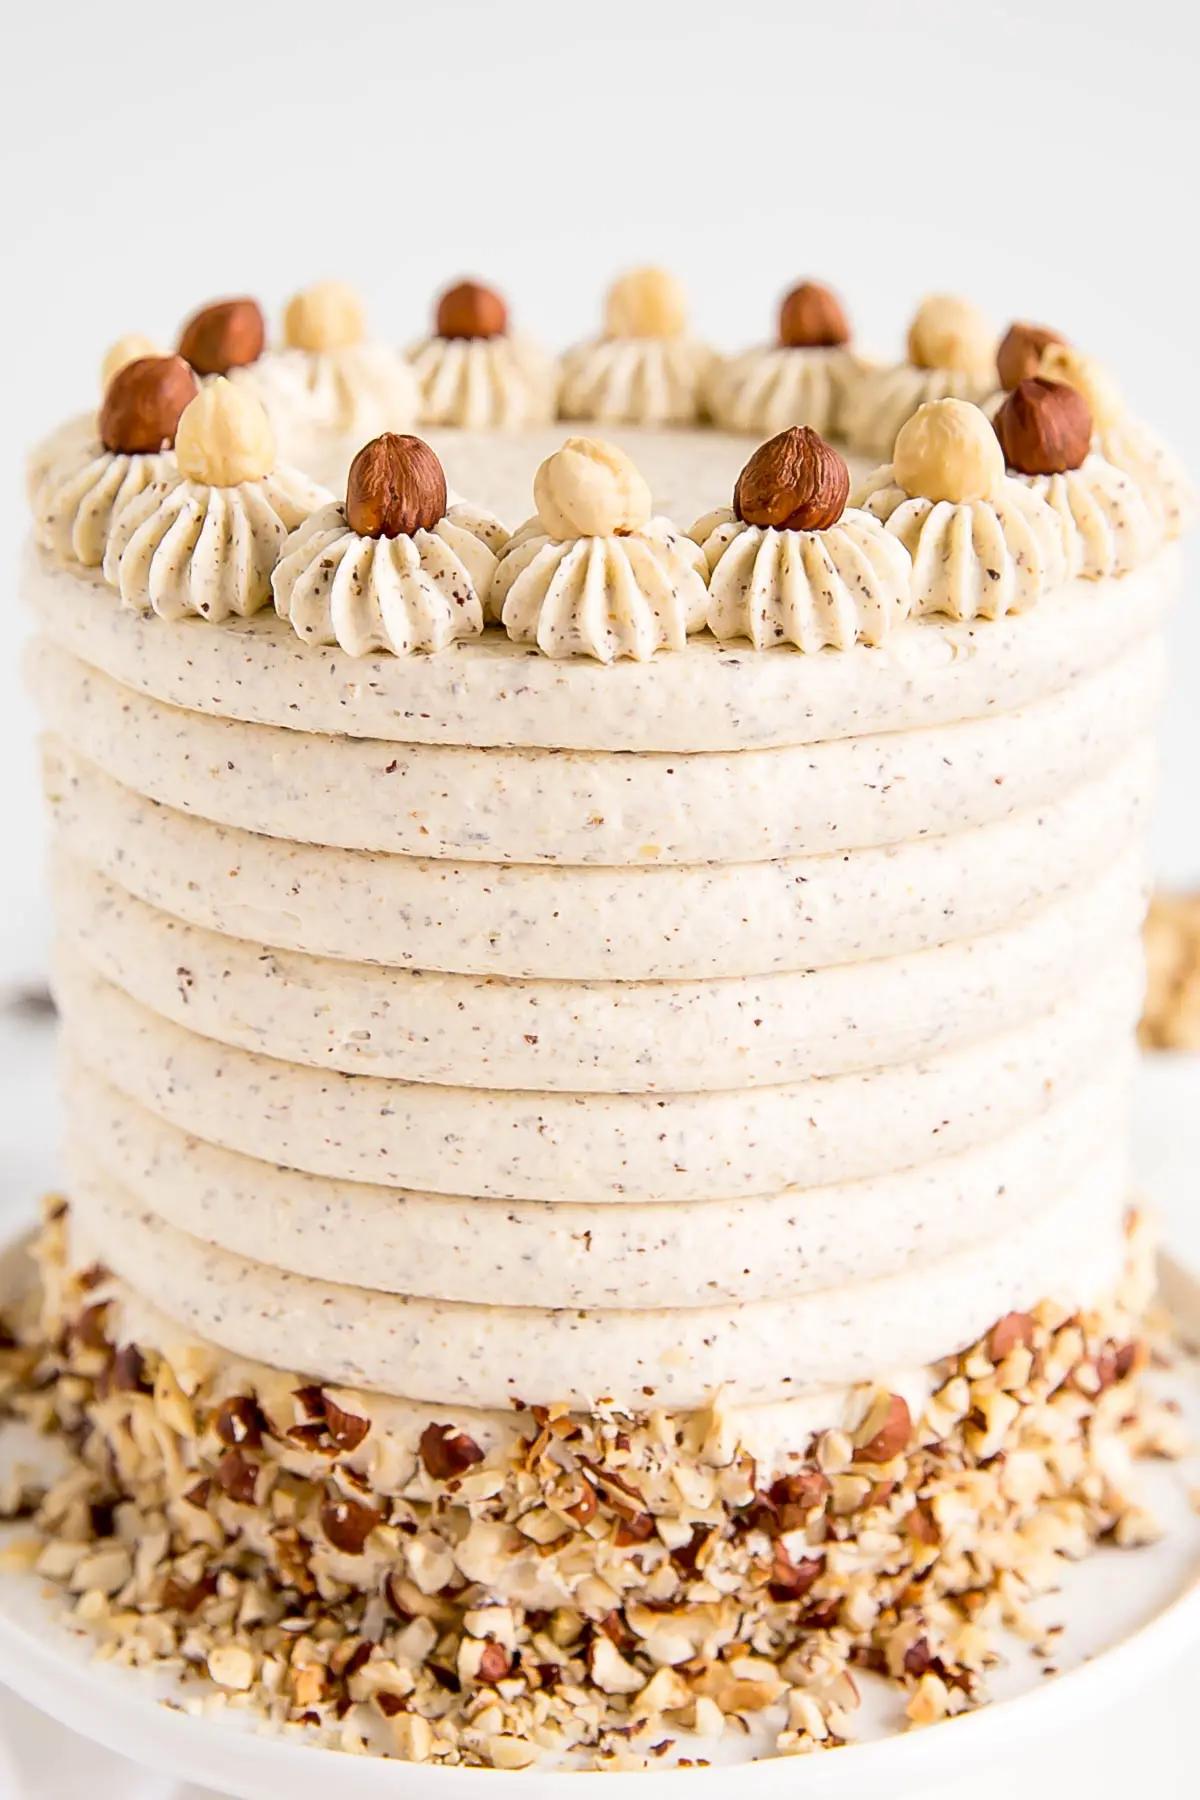
I kept adding hazelnut flour to the buttercream until I was satisfied with the flavor. You can add more or less if you like. I love the flecks throughout the frosting.
I added a schmear of Nutella on top of each cake layer as I was assembling the cake because why not?? This is optional but adds a yummy chocolate hazelnut flavor.
Decorating Tips
The initial reason I bought so many hazelnuts was because I thought I would decorate the cake somehow with candied hazelnuts. Like I did with this Nutella Hazelnut Cake.
That cake is one of my very first recipes and could probably use a refresh, but it is a much-loved recipe. Candied hazelnuts are a stunning way to garnish any dessert and they are surprisingly easy to make!
Check out my Candied Hazelnut tutorial for details.
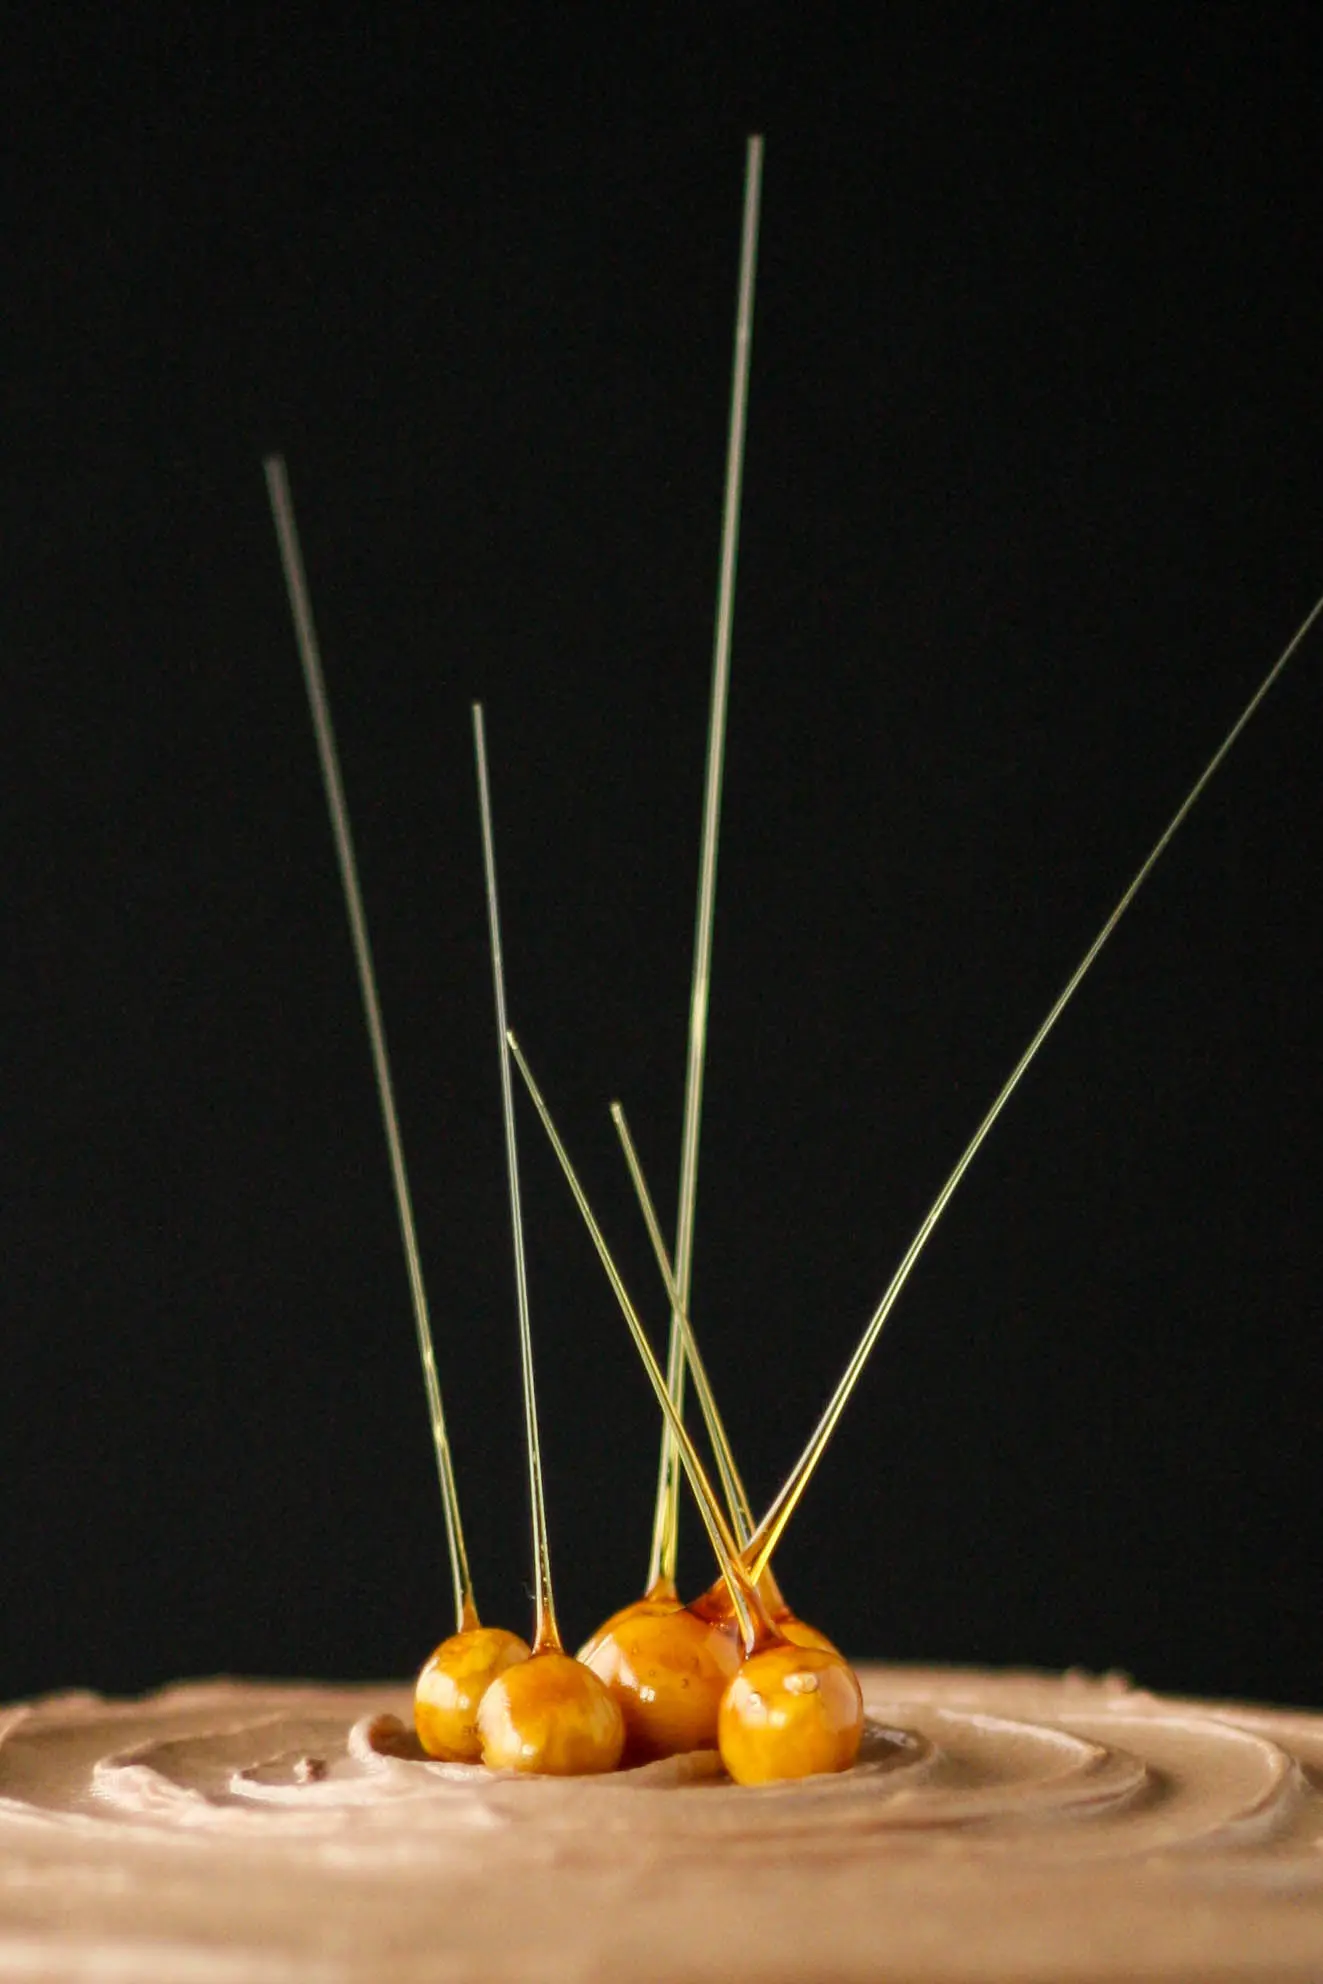
Thing is, they don’t last long. As with any sugar-based garnish, they will start to melt. The more humidity, the faster the sugar melts/gets sticky. It has been super hot and humid here so I just figured that was a recipe for disaster all around.
If you do decide to make them. I recommend making them shortly before serving the cake and definitely do not put them in the fridge.
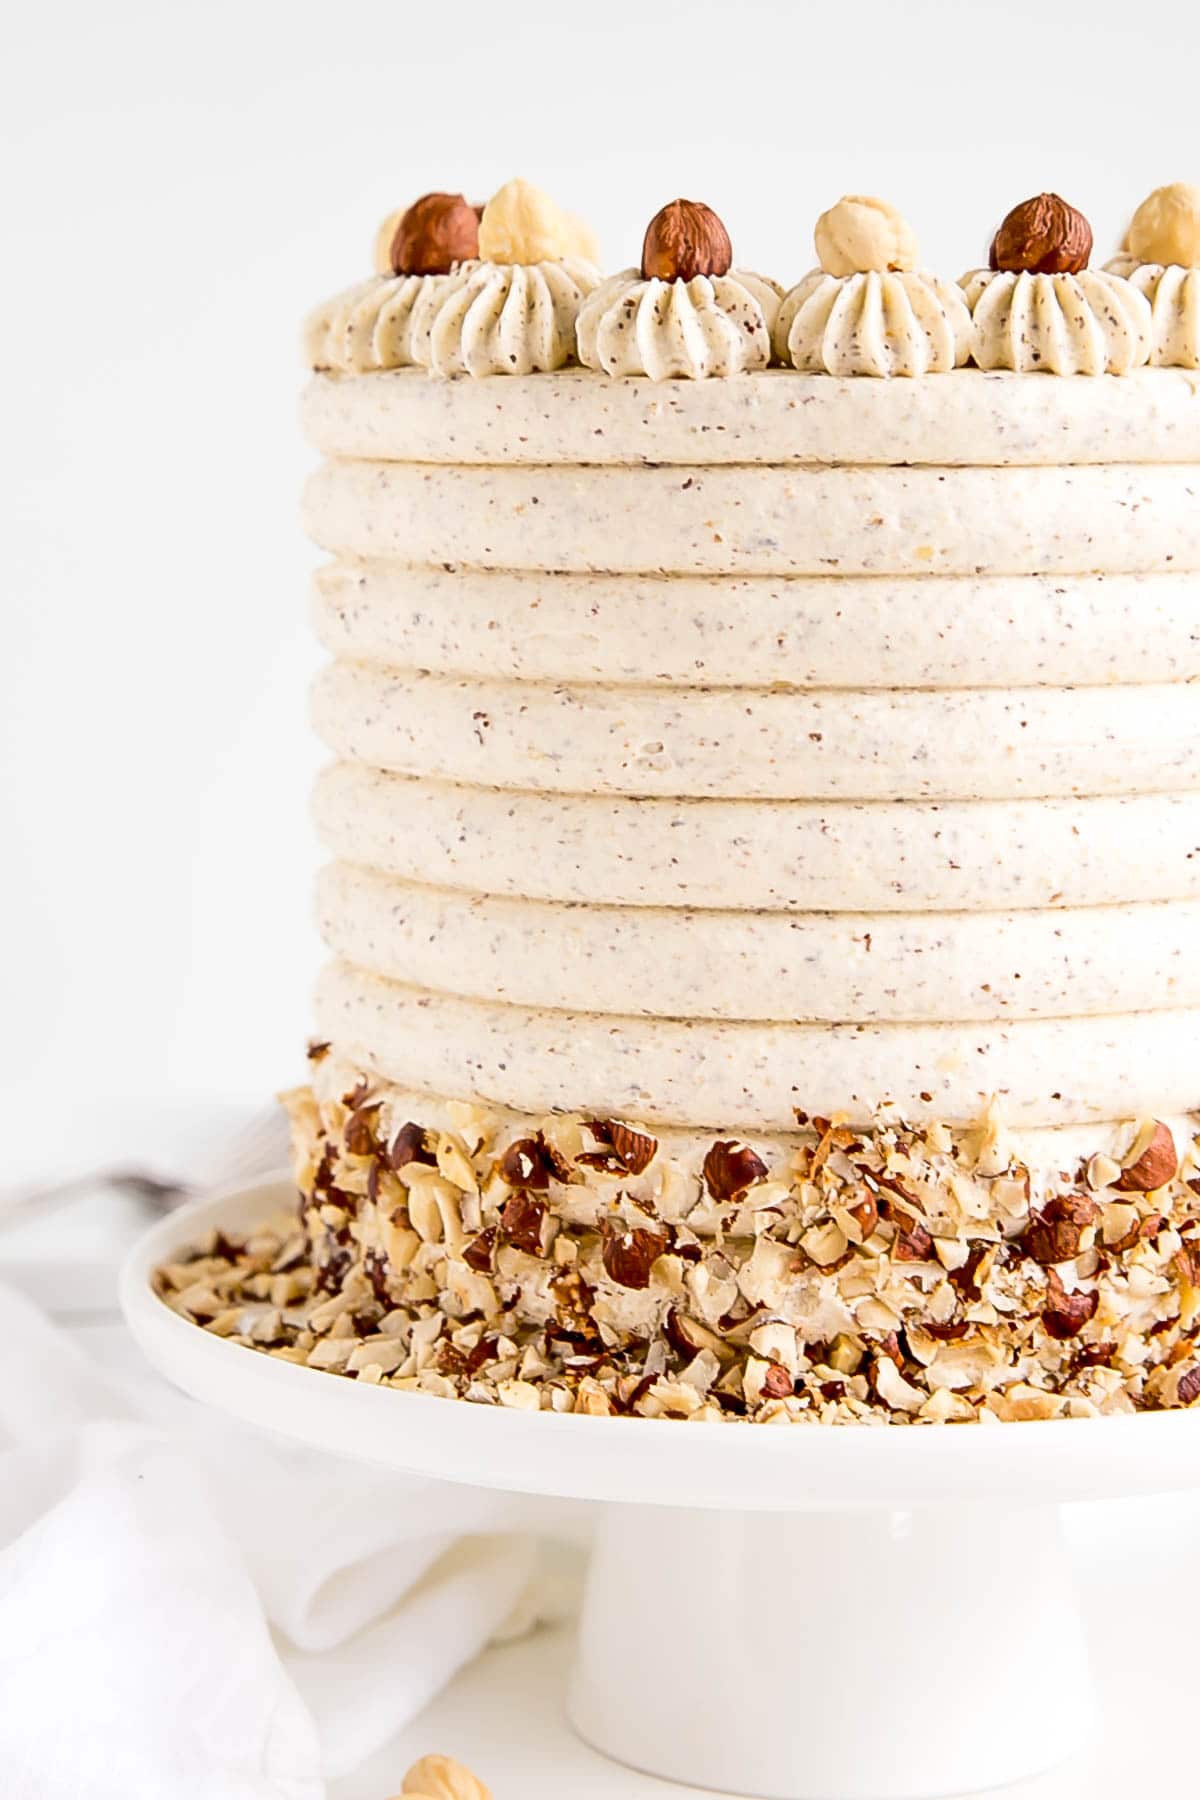
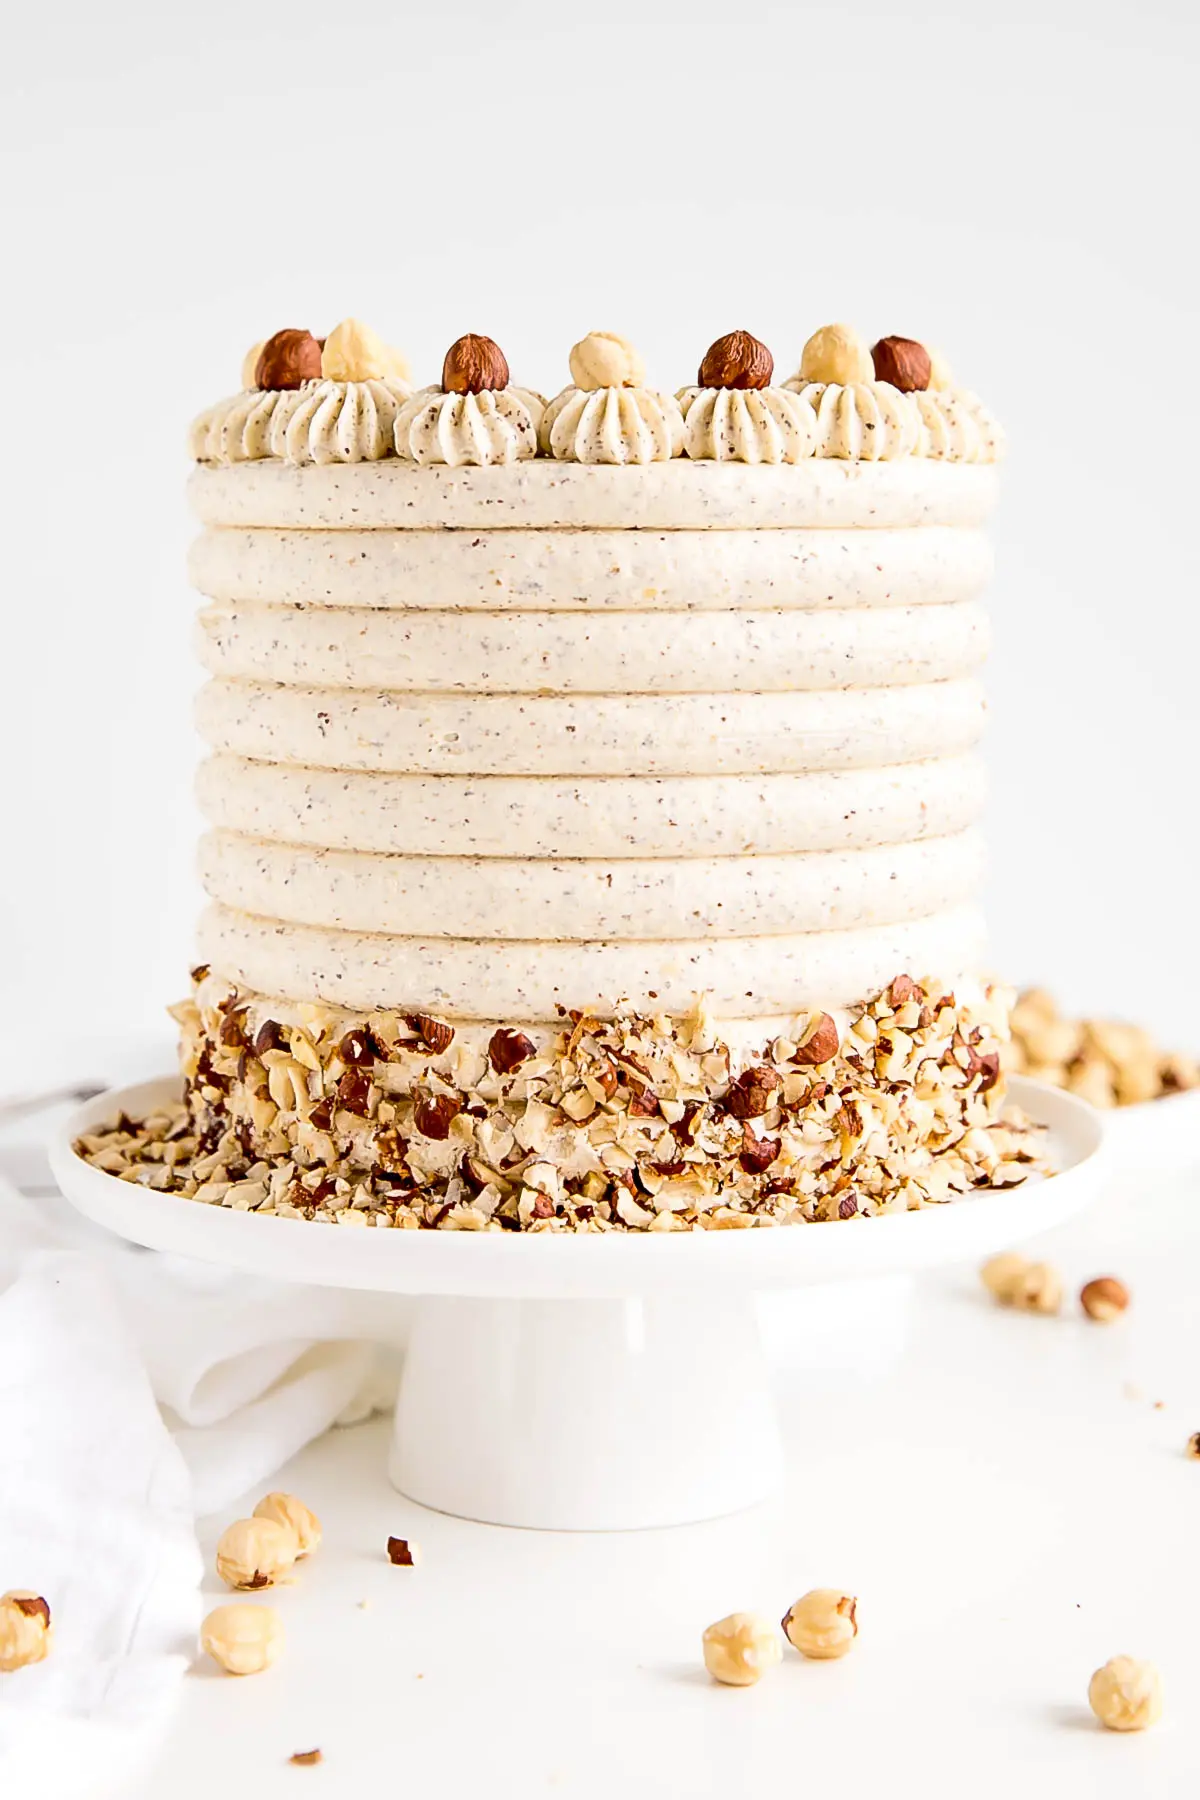
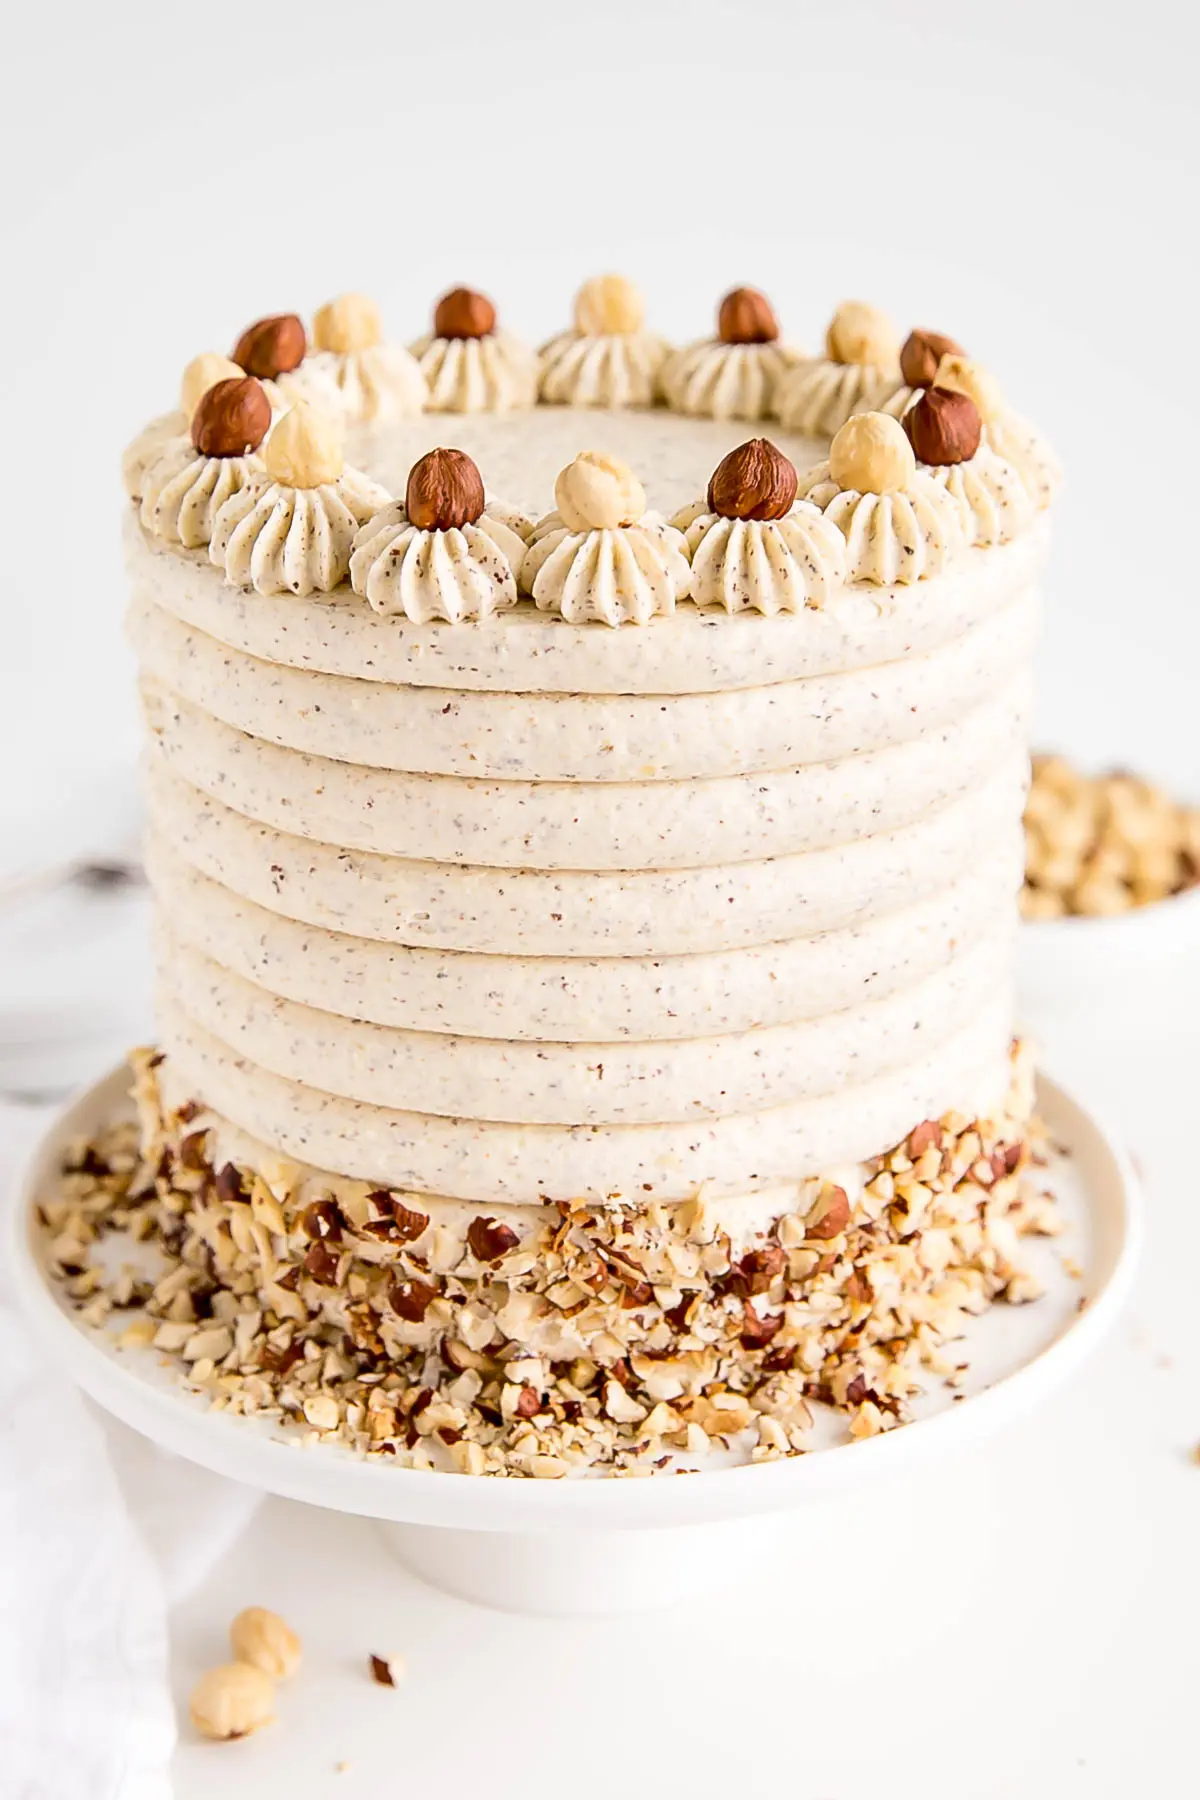
I decided to decorate the cake with one of my favorite cake combs. I used the left side of the right cake comb from this set.
You’ll want a rather thick layer of frosting around the outside of the cake if you’re going to be using a cake comb and it might take a few passes (and some patching) to get it perfect, but it’s really a very simple way to add a stunning impact to your cakes.
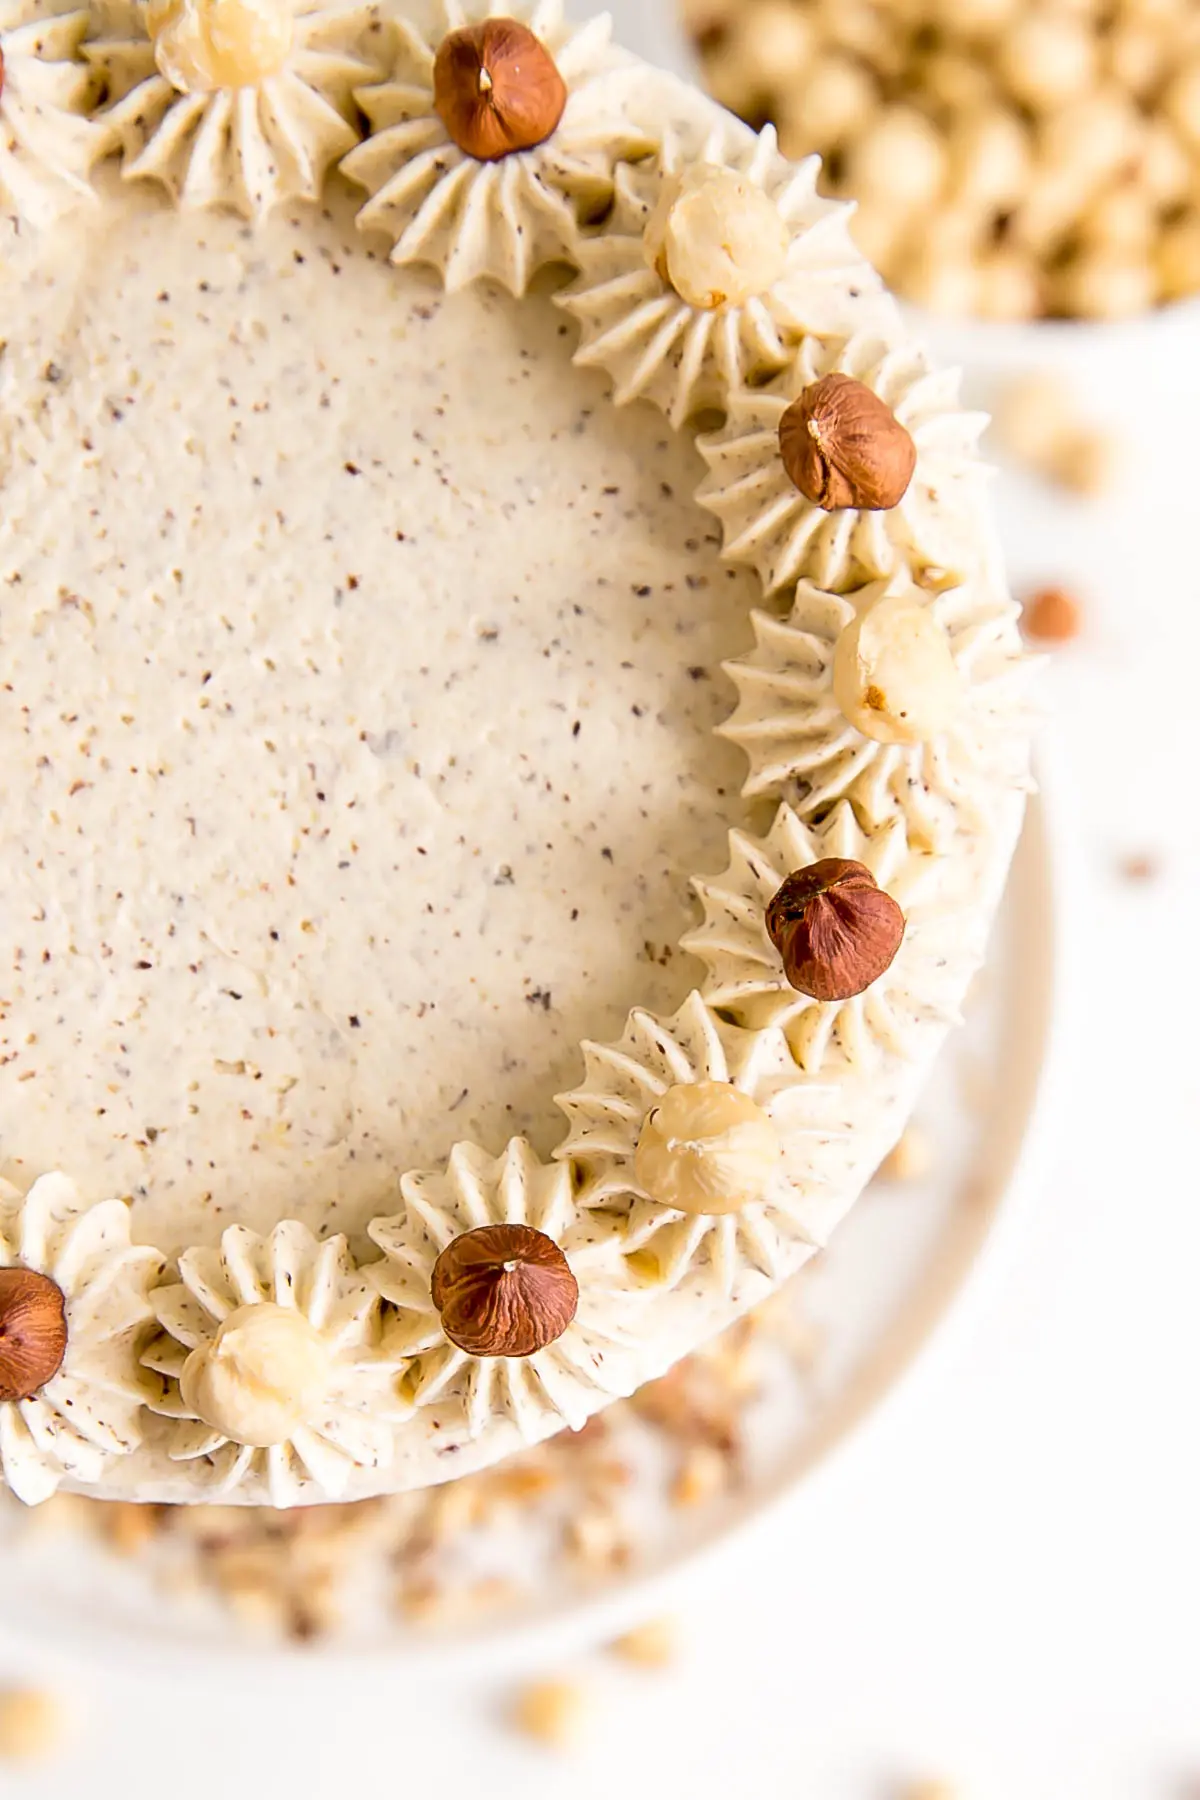
I topped it off with some simple buttercream dollops using a 6B piping tip and topped each one of those with alternating skinned and unskinned hazelnuts.
I think it makes for a pretty effect. Finished it off with some chopped hazelnuts pressed along the bottom.
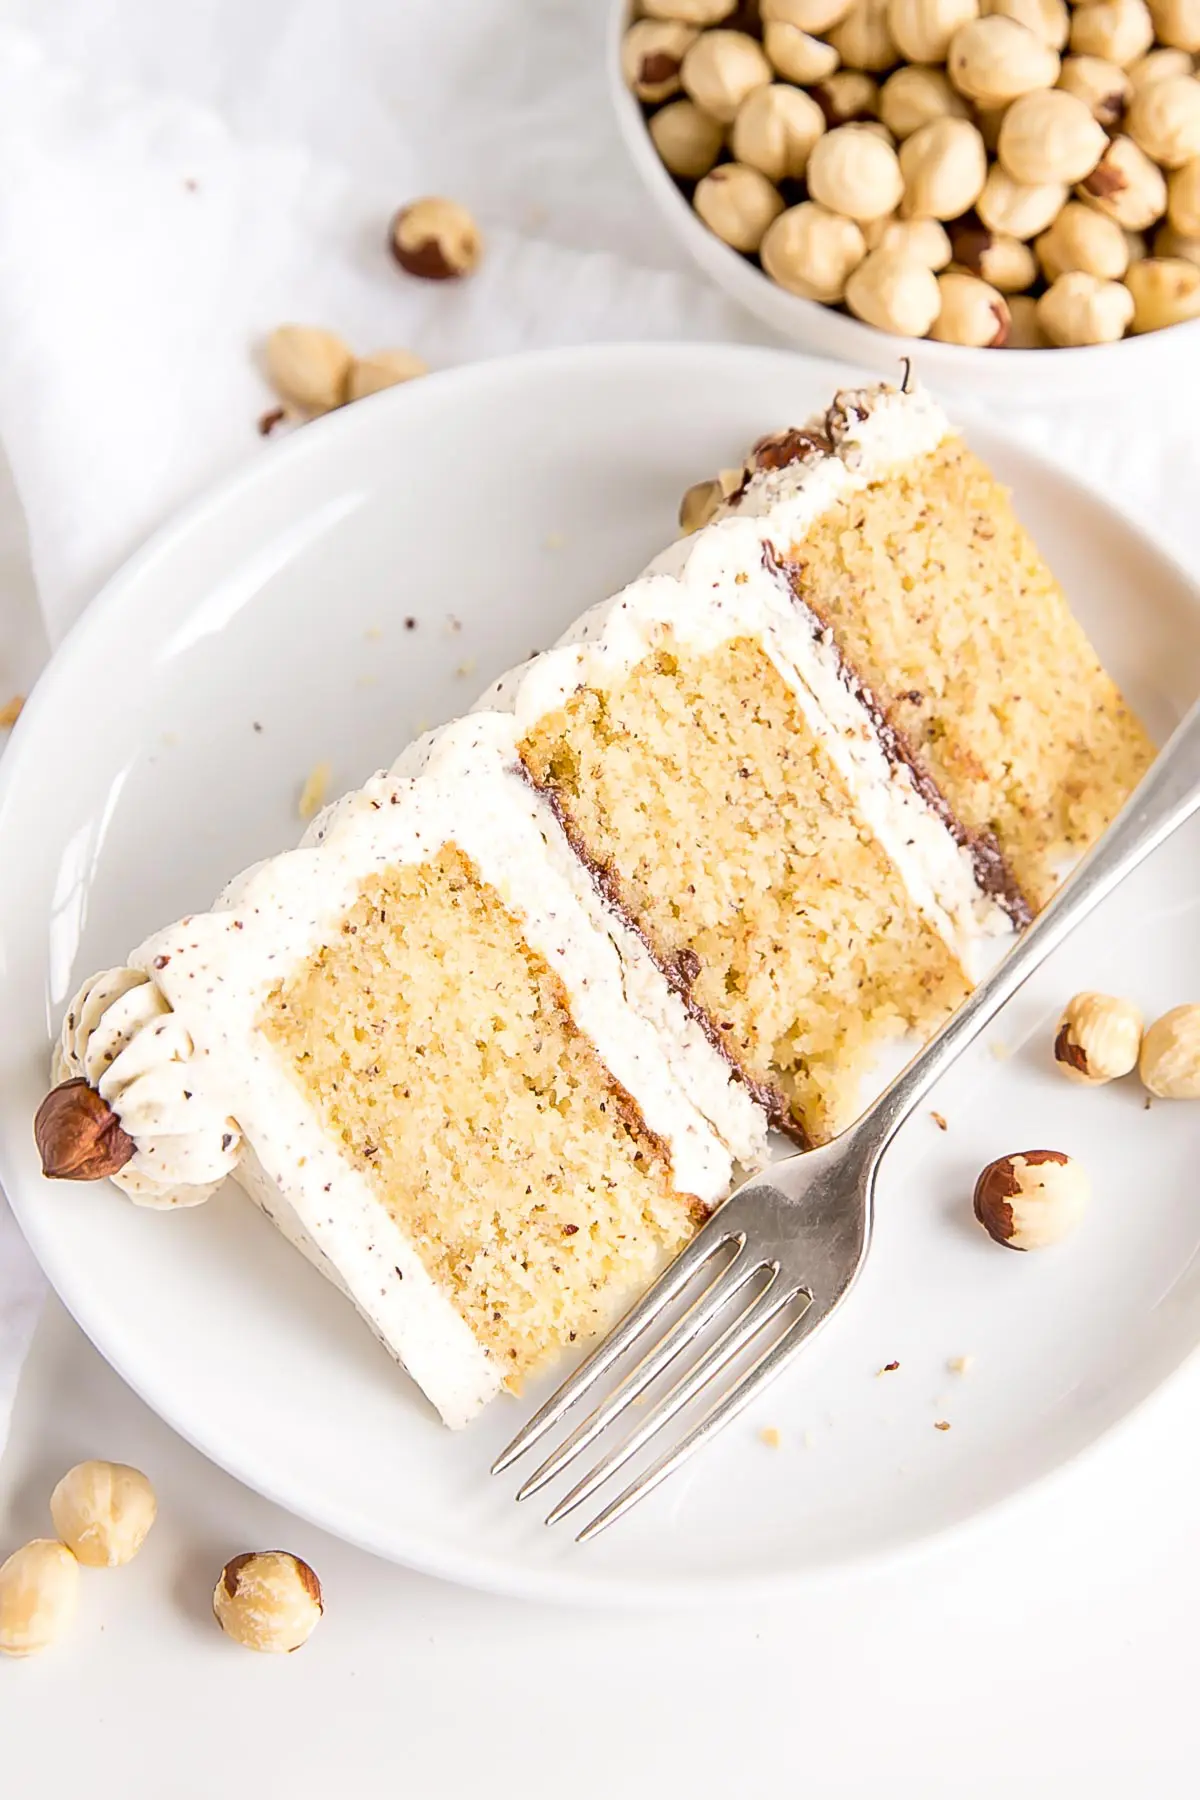
This Hazelnut cake has a wonderful hazelnut flavor throughout. The texture of the cake and buttercream are perfect together. If you’re a hazelnut fan or have one in your life, you need to try this cake!
Looking for more nut-based cakes?
- Almond Amaretto Cake
- Raffaello Cake (Coconut Almond Cake)
- Bakewell Cake (Raspberry Almond Cake)
- Pear & Walnut Cake
- Pecan Pie Cake
Tips for making this Hazelnut Cake
- The recipe as-is will also work in two 8″ pans. For three 8″ pans, 1.5x the recipe.
- To make cupcakes, all you need to do is reduce the baking time — start checking at 15mins or so.
- The cooled cake layers can be baked ahead of time, double wrapped in plastic wrap, and frozen for up to 3 months. Take out 2-3 hours before assembly.
- The frosting can be placed in an airtight container and refrigerated for 1 week for frozen for 3 months. Bring to room temperature and rewhip before using.
- Be sure to check my Pastry Cream and German Buttercream tutorials for tips and troubleshooting.
- If you prefer, you can use a Swiss Meringue Buttercream, an Ermine Frosting, or an American Buttercream instead, and add hazelnut flour to those.
- Learn how to keep your cakes moist using Simple Syrup.
- To help ensure your cake layers bake up nice and flat, check out my How to Bake Flat Cake Layers post!

Comments
Post a Comment