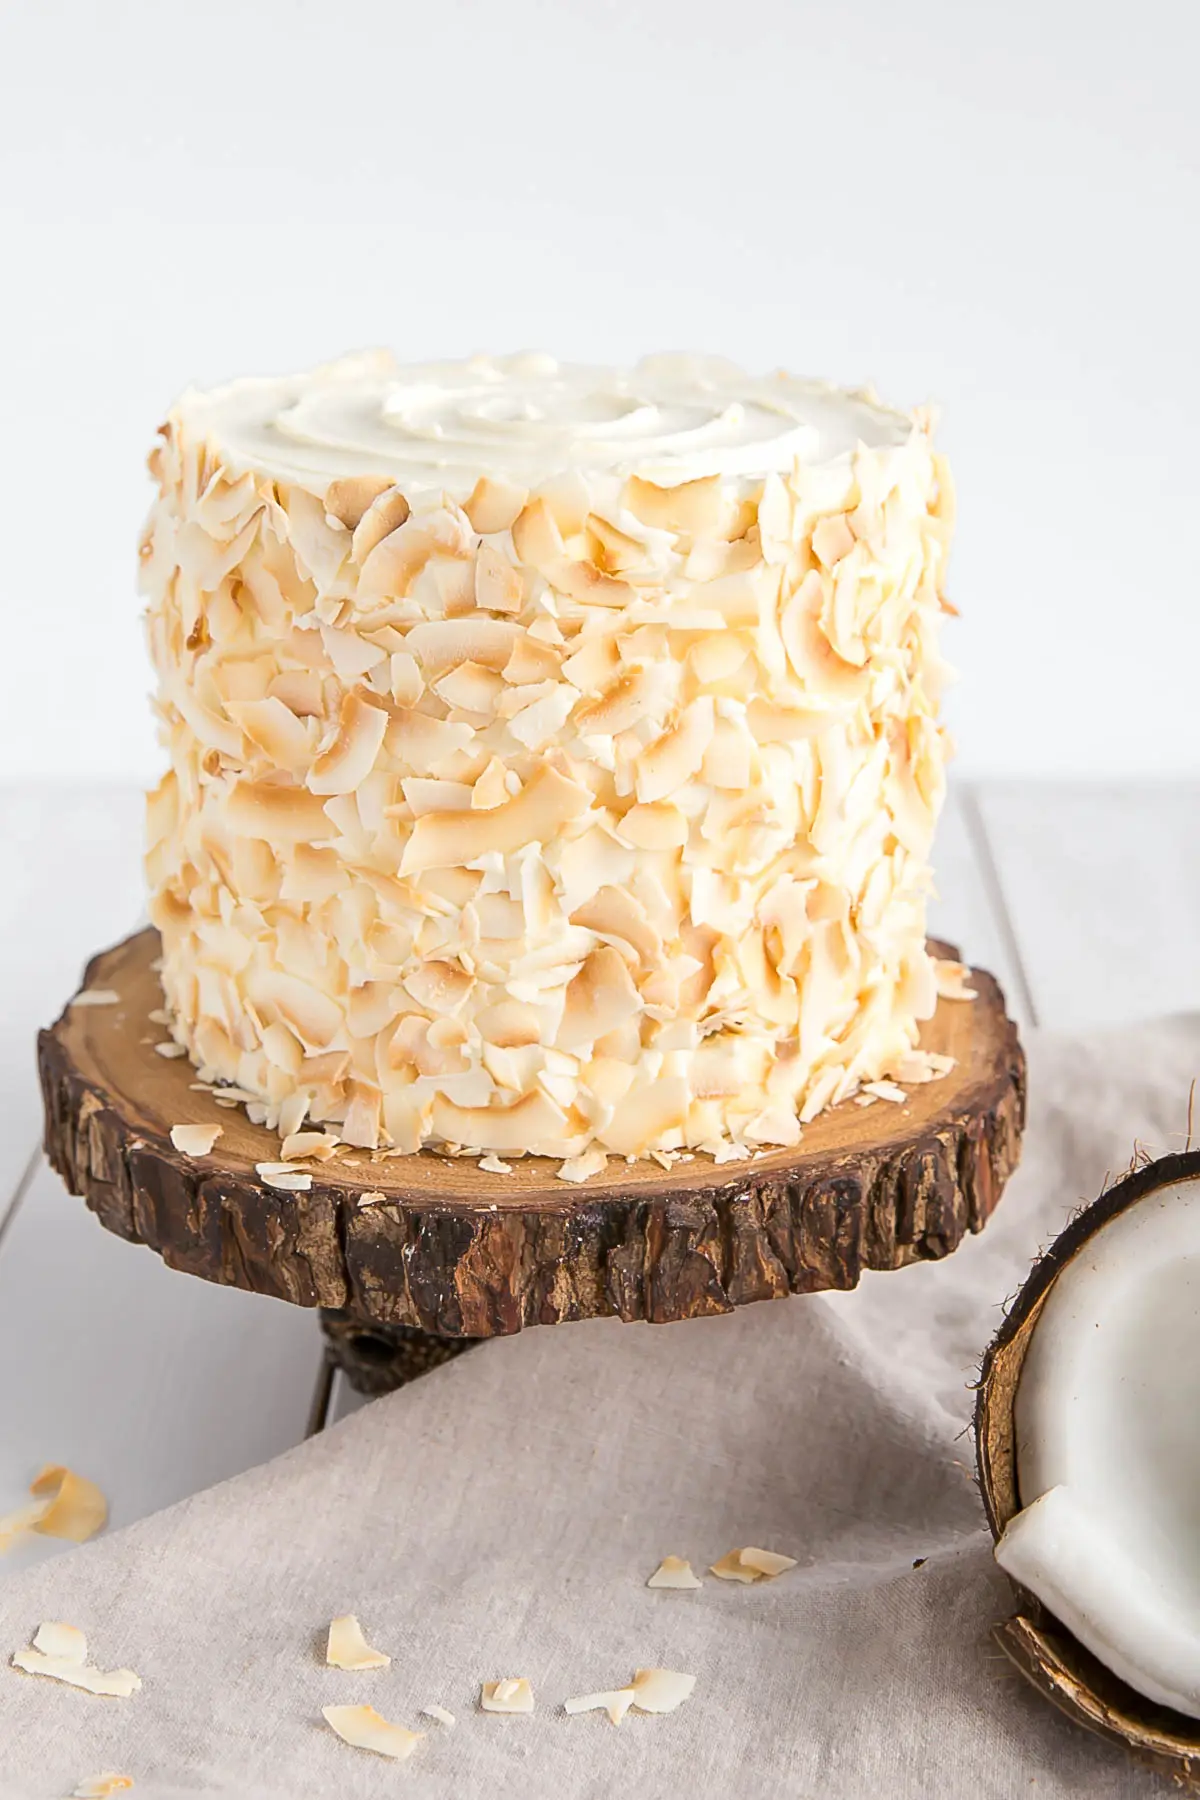
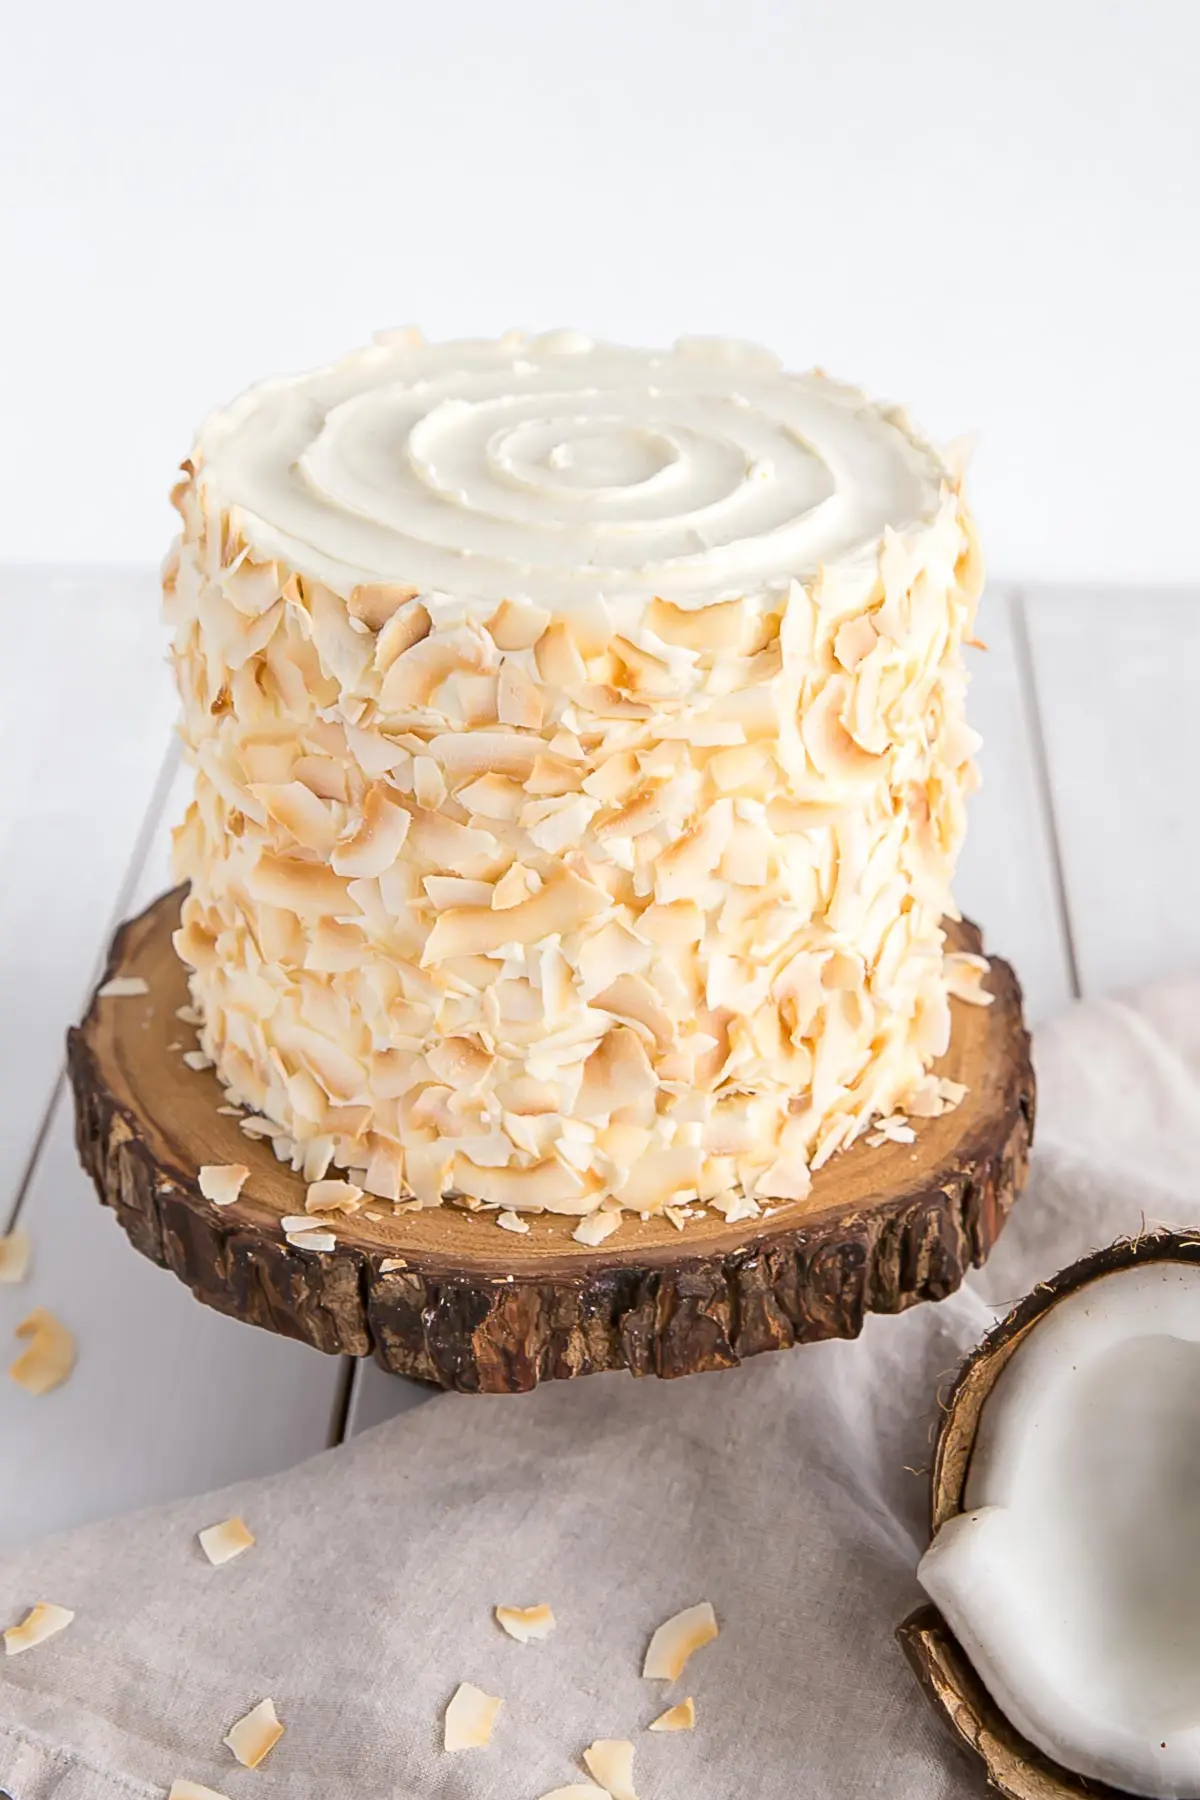
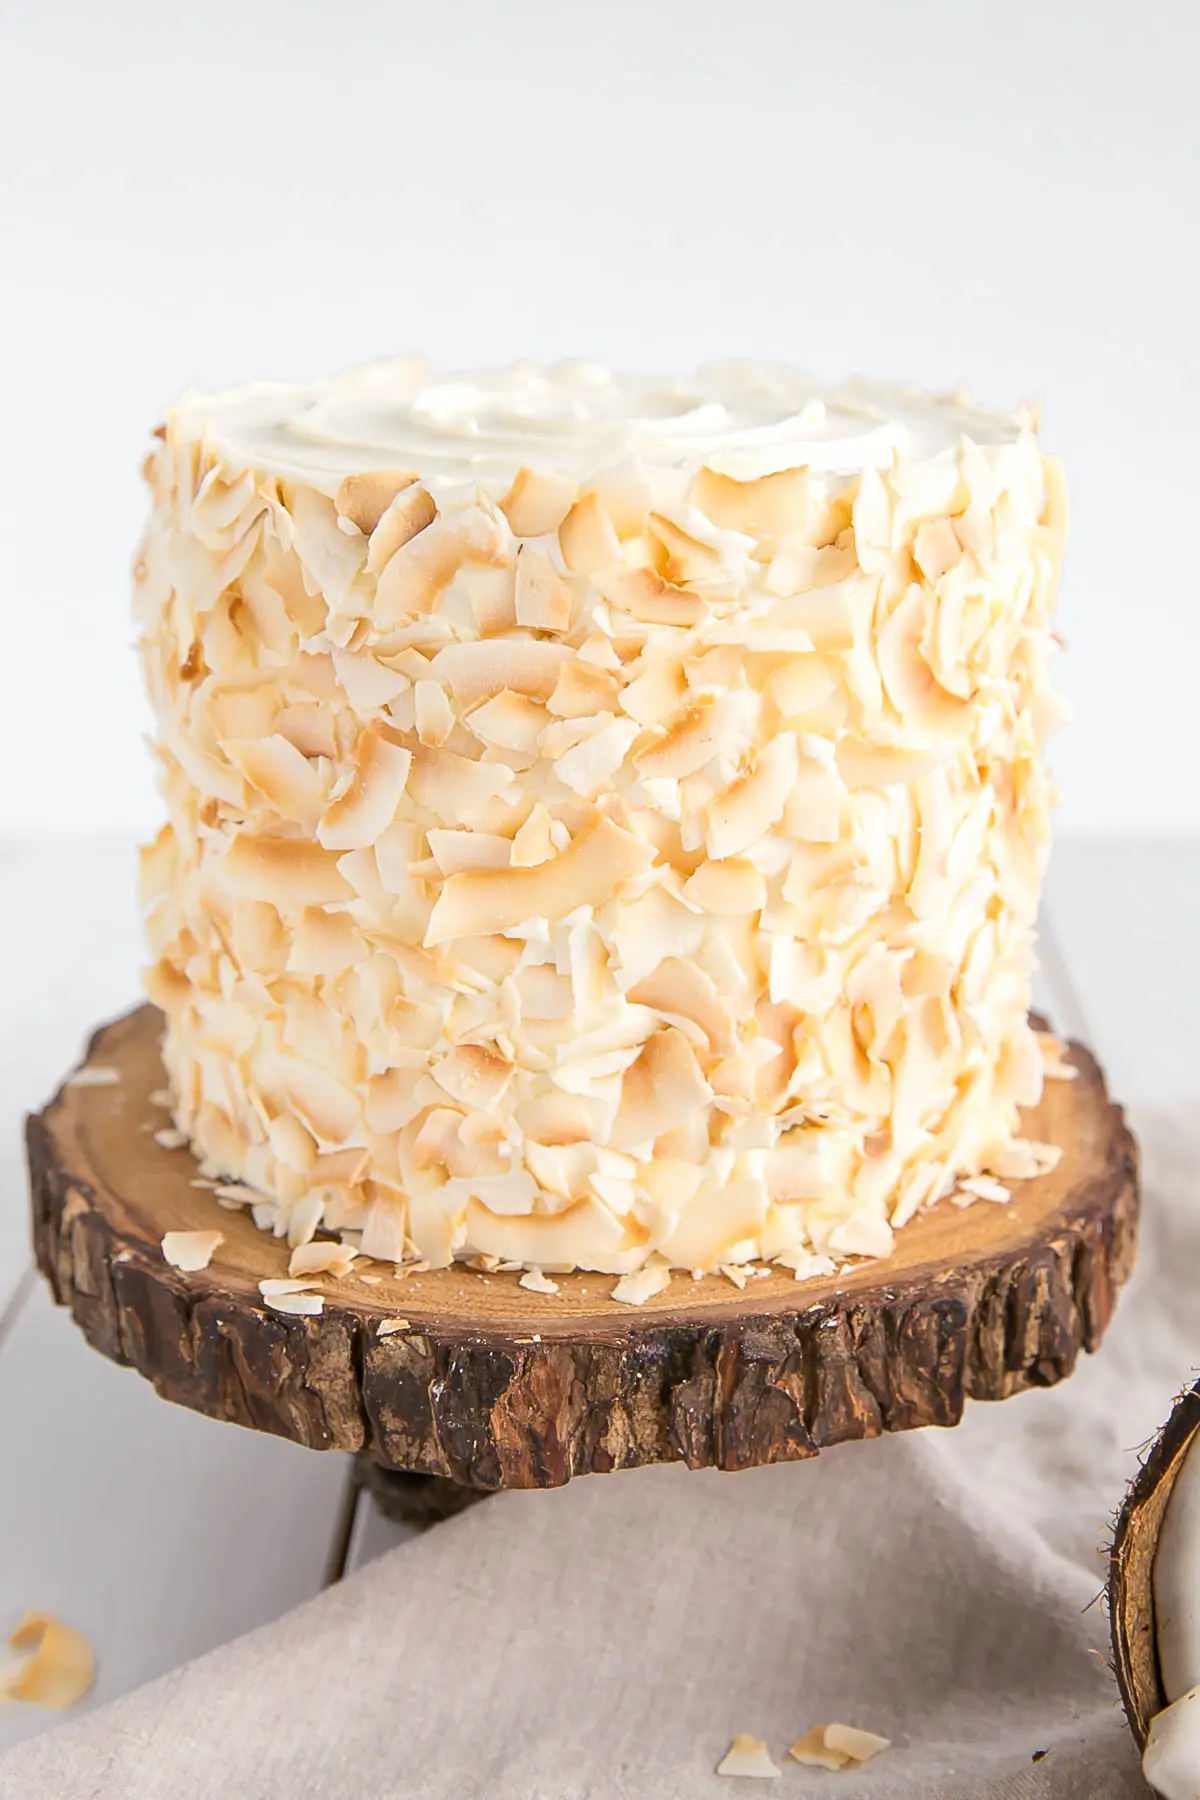
This moist and delicious coconut cake recipe is infused with natural flavor throughout and decorated with giant toasted coconut flakes.
Today’s post is a revamp of one of my oldest recipes. All the way back to 2015! It was one of those recipes that was good but could have been better.
My main issue with the original coconut cake recipe was that it used coconut extract. I don’t often like to use flavored extracts in my baking, as I find them to taste artificial and generally unpleasant.
Some are better than others, mind you, but I mostly stick to vanilla or try to infuse the flavors in some other way.
Coconut extract, not unlike almond extract, is very easy to overdo. It’s strong, often overpowering, and can make your baked goods taste like you’re eating suntan lotion if you’re not careful.


All Natural Ingredients
I was on a mission to redo this Coconut Cake recipe using coconut in its pure form. There is a slew of coconut products out there, so the possibilities are endless.
I’m not kidding when I say I bought every single coconut product I could find to test and experiment with. This included the following:
- Canned coconut milk
- Coconut milk powder
- Pure creamed coconut
- Coconut sugar
- Fine shredded coconut
- Medium shredded coconut
- Coconut flakes
- And some whole coconuts for good measure
All of these ingredients (except for the coconut flakes) were super easy to find in the grocery store.
For me, the first three were found in the Ethnic Foods section, the rest in the baking section. The only thing that was harder to find was the large coconut flakes, which I picked up at Whole Foods.
I didn’t end up using elements of the whole coconuts other than for the pics, but I was surprised at how easy they were to crack!
There are a bunch of videos on how to do this, and I recommend watching one to see how it’s done, but basically, all you need to do is:
- Poke out one or more of the “eyes” with a screwdriver (I was able to poke through without using a hammer)
- Drain the coconut water into a bowl
- Hammer around the axis of the coconut while turning it, and eventually a crack will start to form (this didn’t take long)
- Keep hammering until the crack is big enough that you can pry the coconut open
Coconut Tip!
If you’re cracking more than one coconut and want to keep the water, drain them into separate bowls. I didn’t know at the time, but the second coconut I cracked was a bit rotten on the inside, and I didn’t want to use the water after I saw that.
How to Make this Coconut Cake Recipe
For the actual cake recipe, I ended up using the canned coconut milk in place of regular milk, and I added medium shredded coconut to the batter.
I would have preferred to use fine shredded coconut, because I don’t love the texture of coconut, but the stuff I had was unsweetened and I wanted to add a bit more sweetness to the cake. Either combination will work though — sweetened/unsweetened, fine/medium/coarse. It’s just a matter of preference!
I didn’t end up using the coconut sugar in the final version of the recipe, because it colored the cake batter too much and I wanted a nice, white/yellow cake.
So you can use coconut sugar and it will work totally fine, the cake will just have a slightly different flavor and color. But it’s important to note that coconut sugar doesn’t actually taste like coconut at all. It’s made from the sap of the flower buds of the coconut palms, not the coconut itself. It tastes and looks similar to brown sugar.
The coconut milk powder worked extremely well in the frosting. It added an amazing flavor without affecting the texture. If you were to use canned coconut milk instead, you’d have to use a lot more of it for the flavor to come through, and it could make the frosting too soft. I highly recommend using the milk powder if you can find it!
I only used the coconut milk powder in the frosting, not the cake, but I think it would be a great way to add more flavor to the cake if you wanted to. I’d probably add a couple of Tbsp to the dry ingredients.
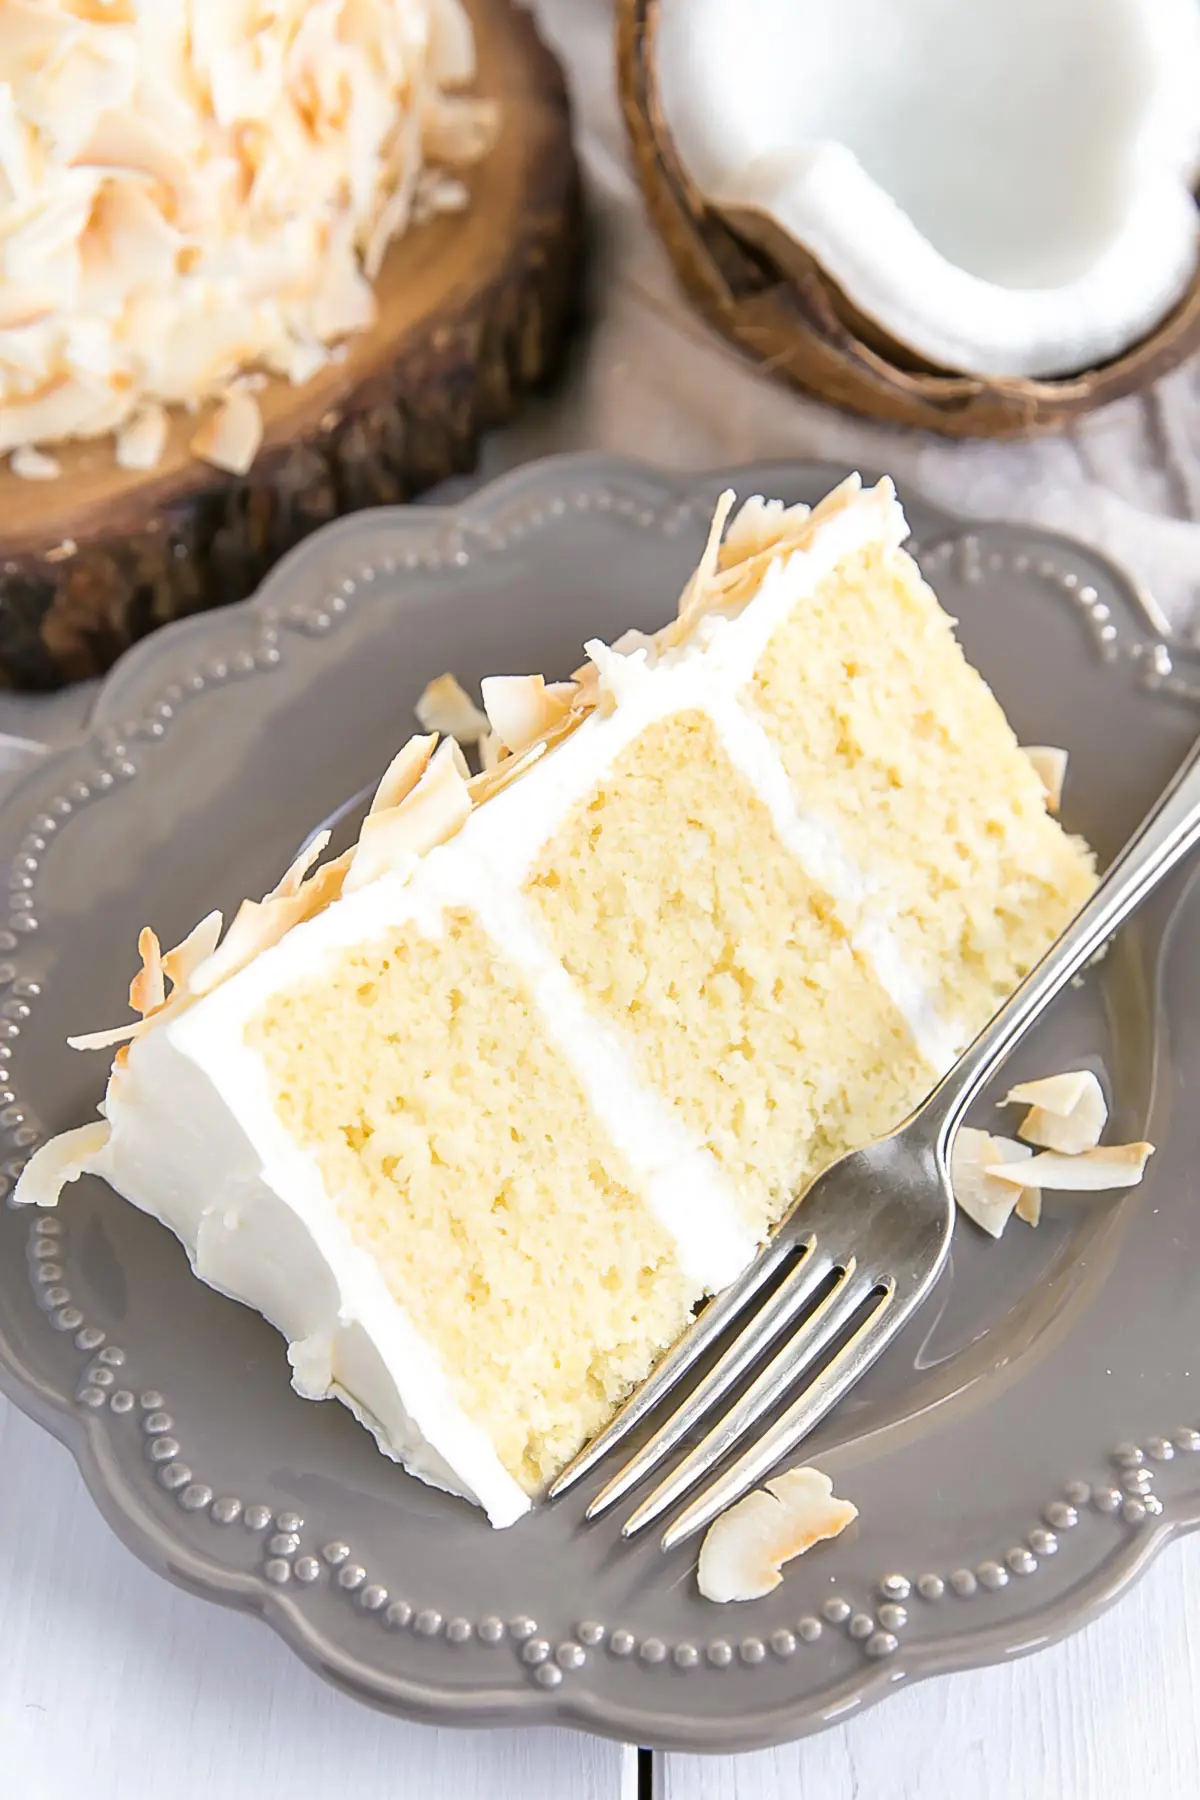
This pretty Coconut Cake is finished off with a simple decoration of some giant toasted coconut flakes, and I just love the look of them. I was able to buy mine already toasted, but I popped them into the oven for a bit more to enhance the color.
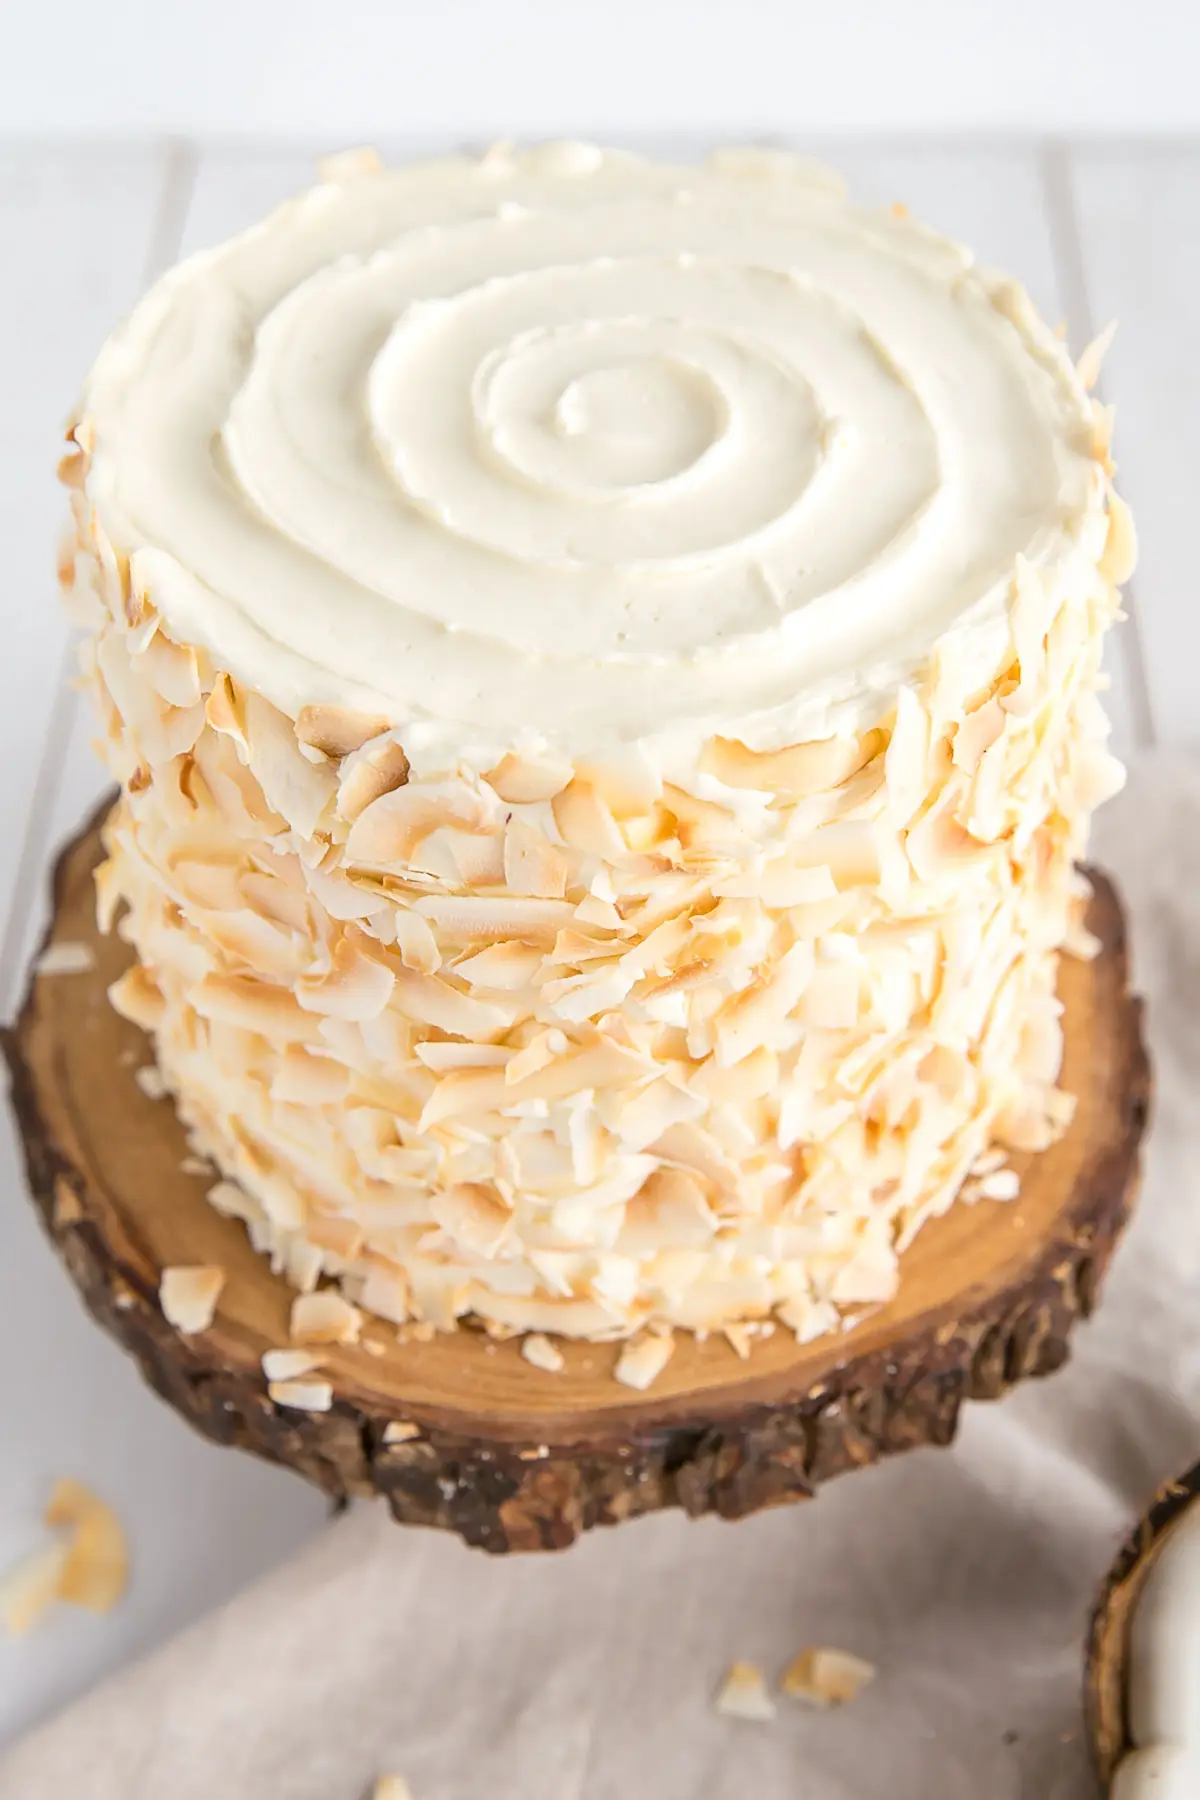
Toasting coconut gives it a delicious nutty flavor. It’s really a step that you don’t want to skip! It also gives it a crispier texture and smells just heavenly.
Toasting coconut is super easy and can be done in no time. Preheat your oven to 350F and spread the coconut in a thin, even layer on a large baking sheet. Pop it in the oven for 5mins, stir it around, and keep toasting until the desired color is reached. It’s important to note that it can go from beautiful golden brown to burnt very quickly, so watch it like a hawk and stir it around often. Make sure the coconut is cooled completely before using it on the cake.
This Coconut Cake recipe has the perfect hit of coconut flavor throughout without being overpowering or tasting artificial. Any coconut fan in your life is sure to love it!
FREQUENTLY ASKED QUESTIONS
How can I convert this recipe?
- The recipe as-is will also work in two 8″ pans. For three 8″ pans, 1.5x the recipe. Baking time may need to be adjusted.
- To make cupcakes, all you need to do is reduce the baking time — start checking at 15mins or so. The recipe will make 18-24 cupcakes depending on size.
- For other conversions go here.
Can I make it in advance?
- The cooled cake layers can be baked ahead of time, double wrapped in plastic wrap, and frozen for up to 3 months. Take out 2-3 hours before assembly.
- The frosting can be placed in an airtight container and refrigerated for 1 week for frozen for 3 months. Bring to room temperature and rewhip before using.
- The finished cake (whole or sliced, stored airtight) can be frozen for up to 3 months.
Can I get the measurements by weight/grams?
- There is a Metric option in the recipe card. If you click it it will convert everything to grams.
- This conversion is done automatically and I cannot guarantee the accuracy but many readers have had success using the metric option for this recipe.
Comments
Post a Comment